
Asymmetrical Trimming in Premiere
For the past 10 years I’ve edited almost exclusively in Avid, and I like editing with it very much. Last year I edited two projects in Premiere. I often hear that Premiere can’t trim as well as Avid, but in my experience it works pretty much the same, except that in Premiere you can trim in the timeline without opening up the trim mode window. That can be confusing because Avid editors are used to the trim window automatically opening whenever you select an edit. The default keyboard command to open trim mode is Cmd+T (Shift+T in Windows) or you can open it by double-clicking on an edit point.
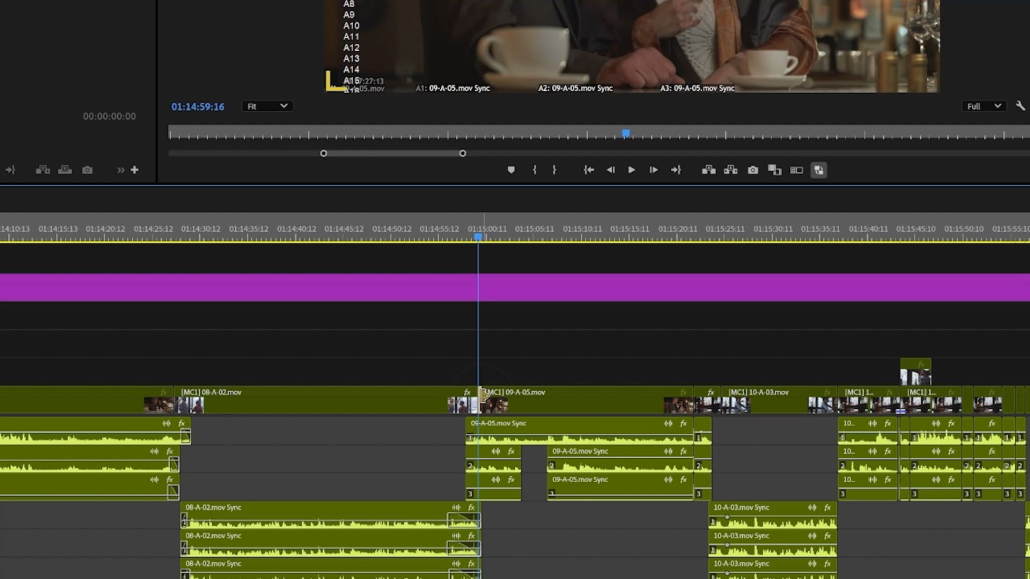
To do an asymmetrical trim (the holy grail of trimming) where one or more tracks are moving in different directions make sure linked selection is turned off. You can either disable it by clicking the icon in the upper-left of the timeline
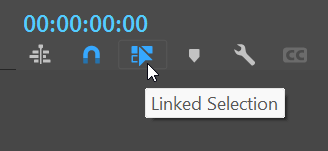
or hold down Option (Alt in Windows) when selecting edits to temporarily toggle it. Select multiple edits by holding shift when clicking. Once you’ve selected your edit points you can trim using the keyboard commands Cmd+Left arrow/Right arrow (Ctrl in Windows). Add shift to trim “many” frames. You can change how many frames that is in Preferences/Trim/Large Trim Offset.

Leave a Reply
Want to join the discussion?Feel free to contribute!