While I was editing The Fall & Rise of Reggie Dinkins pilot (coming to NBC this year!) I spent a lot of time thinking and talking about fake documentaries and how they work. I was obsessed with them in college. I called them “fictumentaries” instead of mockumentaries because I thought “mocking” was a reductive way of thinking about the genre. Now I think “mock” is clearly referring to the other meaning of mock: not real or authentic. I even convinced Harvard to pay me a few grand to research the genre over the summer in preparation for my thesis film. Around the same time as Reggie Dinkins I listened to an episode of Hyperfixed about lost films, and it inspired me to do something about the 16mm fake documentary student films slowly turning to vinegar in my basement.
I checked in my crumbling box of film material that survived two apartment moves unopened. I had the original camera negatives for my thesis film, but I realized I left the negatives for my junior year film at Cinelab in Fall River, MA over 20 years ago. I emailed Cinelab and they still had everything in their vault! The boxes were sitting on top of an unlabeled can, and it took a while for Cinelab to verify that the can was unrelated to my film. (#1 lesson of film school: always label your film cans & tapes) So if anyone’s looking for “a single large roll of color reversal family films with boats in what looks like New England,” Cinelab has it.
Once I collected all my film materials, I brought them to PostWorks New York, where I’ve had the majority of my professional editing gigs. PostWorks scanned them in at 2K and I got to work. First, I was delighted to see that they scan all the way to the sprocket holes.
and in most cases the shot was matted in the camera so there wasn’t any picture there, but there were a handful of shots that were exposed all the way to the edge of the frame. I’m not sure why that happened. I can only assume it was operator error.
Since there’s no vertical space between frames like there usually is on 35mm film, 16mm film negatives are (or were) cut in an A/B roll checkerboard pattern. In the first frame above, you can see a little bit of black from the splice at the very top of the frame. There’s even more of the splice that would be visible on the bottom of the previous frame, but instead the negative cutters put in black leader on every cut and alternate shots on each roll so the majority of the splice is hidden in the black leader. When a print was made they would sync up the two rolls and only print the parts that had picture on them. In modern 2025 times, you run both negative rolls through the film scanner and manually edit them together. It looks like this:
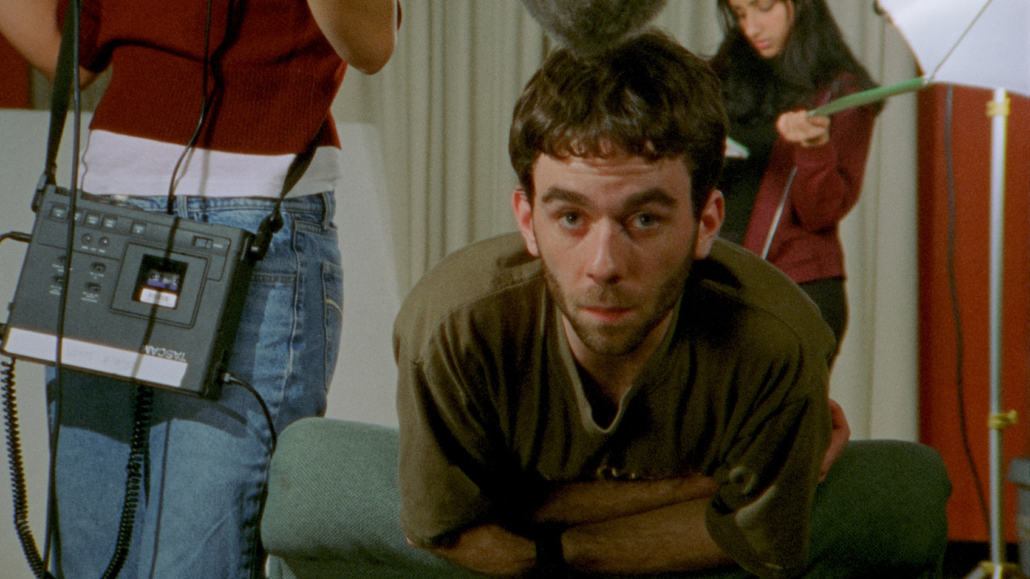
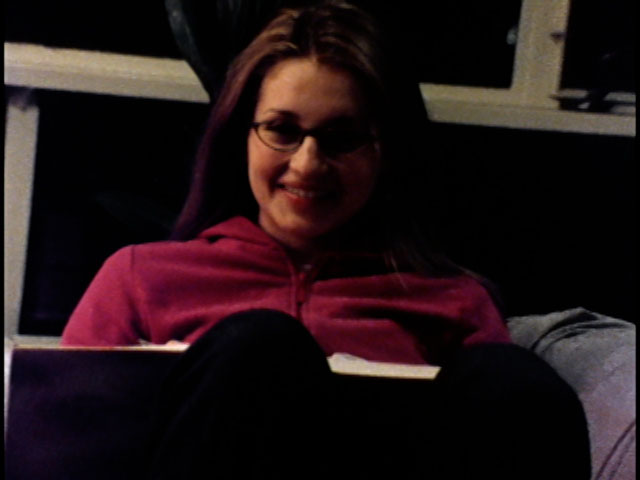
That was the easy part. Then I had to color correct these ancient student films. Camera Noise was shot in 2001 on the worst, noisiest film stock around: 800T Kodak 7289. It was discontinued a few years after I shot it because it sucked. I don’t know if there was also damage from fading over the years, but the opening shots of Camera Noise had almost no blue information in them:
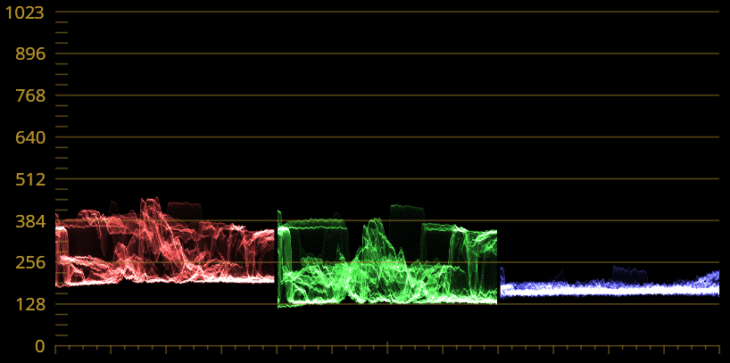
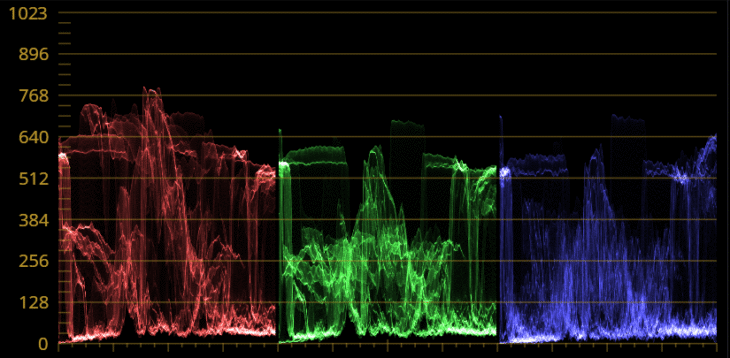
I’ve done enough color work in Resolve over the years to fake it, but this was tough. I had intentionally chosen to underexpose this terrible film stock to imitate other poorly-made student films I had suffered through, and now 25 years later I wanted to make it look a little better. Using the Lift/Gamma/Gain controls to adjust the color ended up making it feel thin, sort of stretched, like butter scraped over too much bread. Then I found Darren Mostyn’s excellent tutorial on the RGB Mixer. Using his technique I was able to dial in the color and restore information into the blue channel before I added gain and gamma, and lowered the lift. I used the Lum vs Sat curve to desaturate the shadows a bit. And I added some noise reduction, high on the Chroma threshold, very low on Luma to preserve detail.
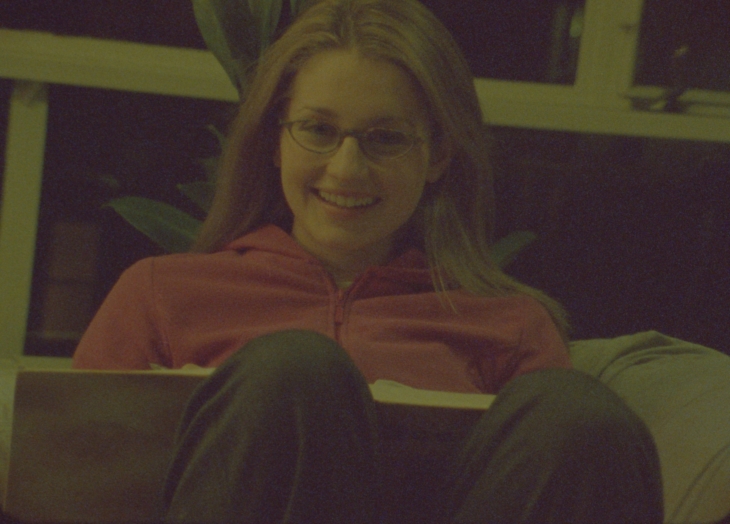
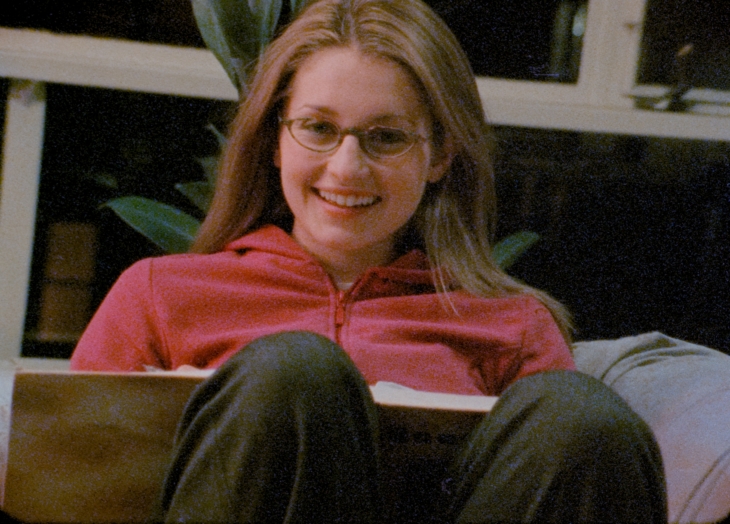
It’s not perfect, but it’s a lot better than the old standard definition telecine I made from a 16mm release print, which was the only way to watch it for the past 20 years:
Here’s a little trailer I made to demonstrate the enhancement:
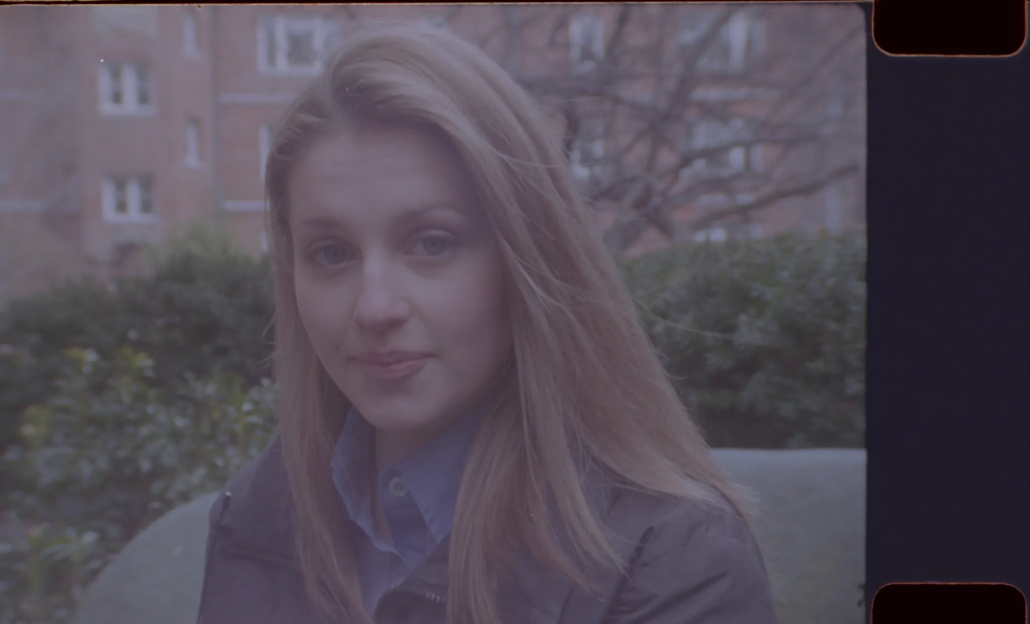
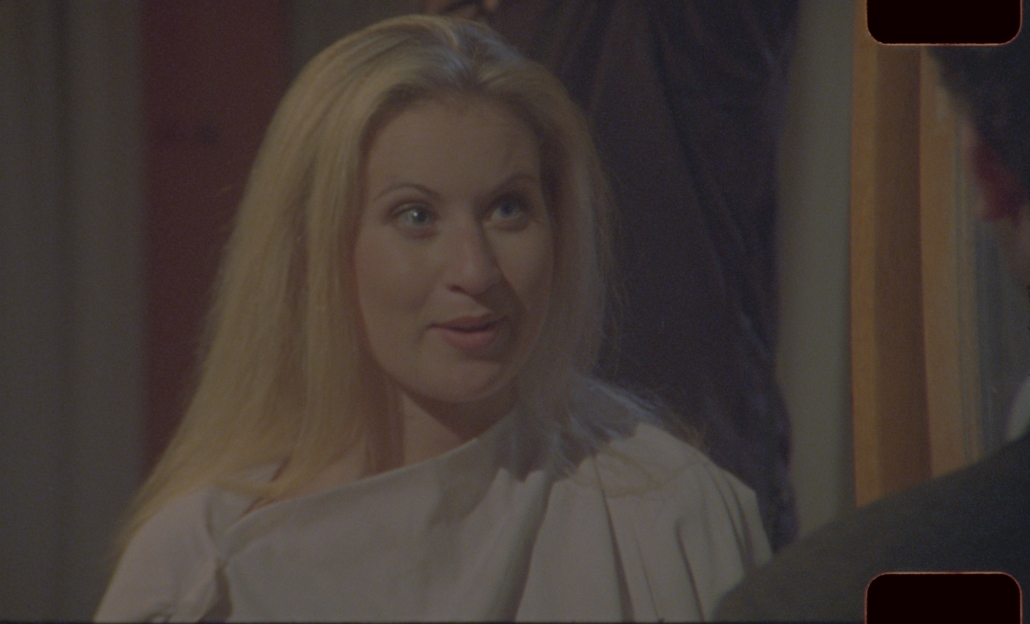
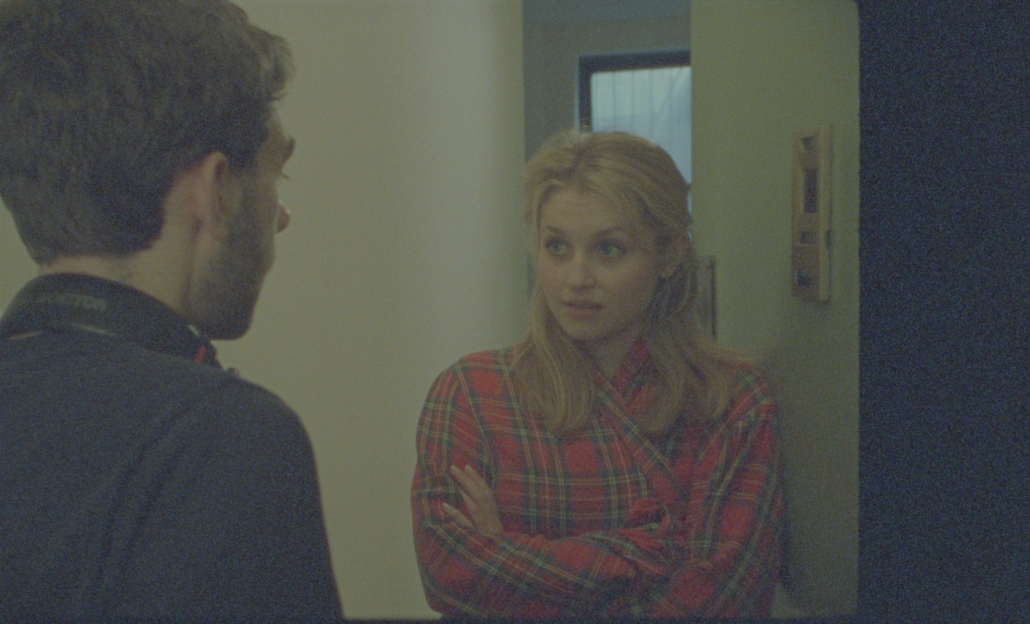
After Camera Noise, fixing up the sequel The Epic Tale of Kalesius and Clotho was easy. I shot it with the intention of doing the best job I could. I used much better stock, lit the scenes, and actually had someone else shoot it for me, so at the very least I didn’t have to turn on the camera and then run into position. The main challenge was the scene when my character goes to Jennie’s apartment to make a grand romantic gesture. It was extremely grainy. I think it might have been pushed a stop or two. Oddly enough, you can’t even see the sprocket holes in the full frame scan.
Once again, Resolve’s noise reduction tools came in handy with a big chroma threshold and low luma. I also had some trouble with the scene from Camera Noise that I showed in Kalesius and Clotho. In the old days I had to make a duplicate of the negative in order to use the clip in two different places. That led to some generation loss, which I tried reducing with sharpening and noise reduction until I finally realized I could use modern editing techniques to just cut in the original clip from Camera Noise.
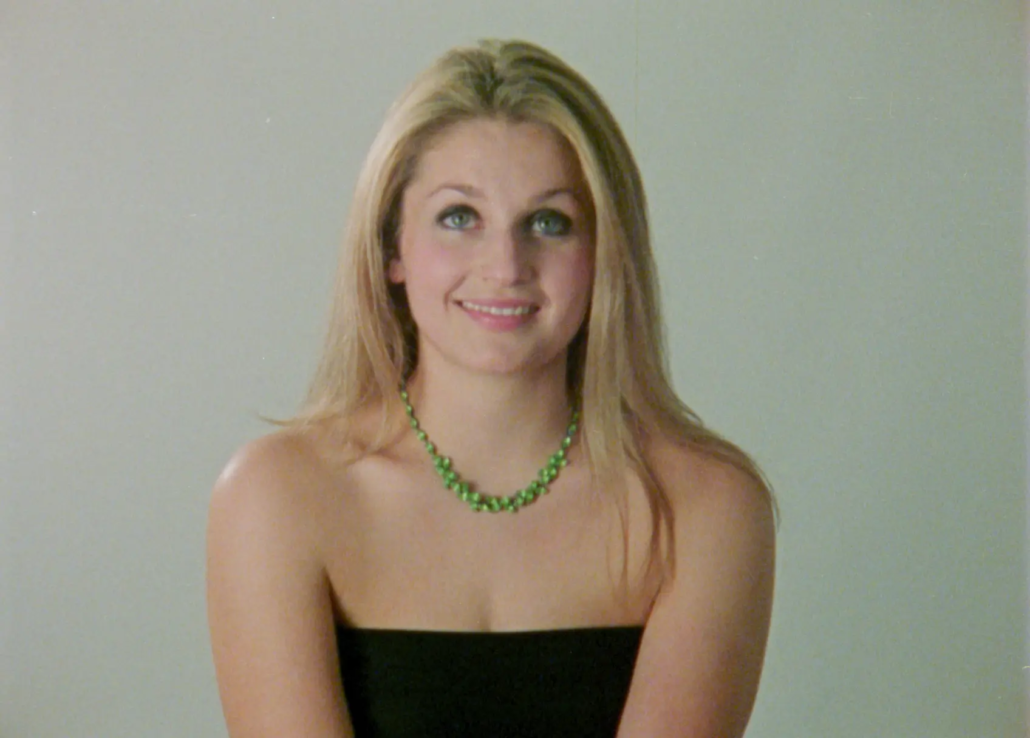
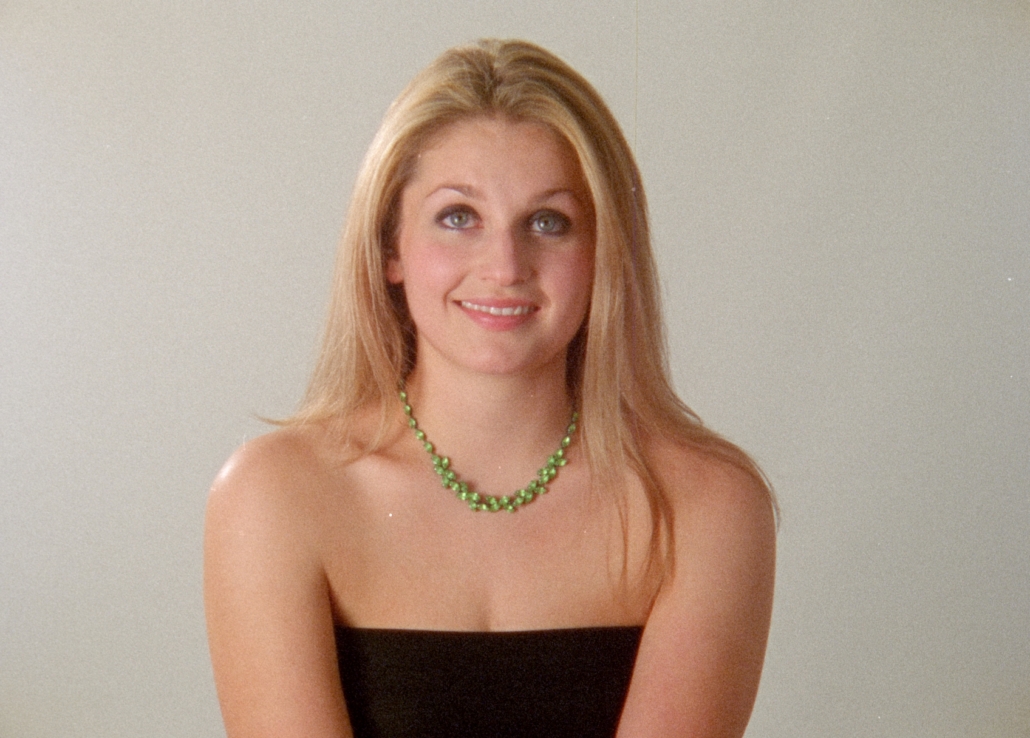
There’s also a bunch of DV footage in Kalesius and Clotho that was transferred to 16mm using something like a kinescope. I don’t remember the exact technique, but I do remember that it was the cheapest possible method available and only DuArt was offering it at the time. I am pretty sure I still have the original DV tape, but I don’t have an easy way to capture DV tapes anymore, and I always preferred the weird look of the 16mm transfer so I kept it for this remaster.
I didn’t do anything to the audio because it was already digitally mastered even way back then. John Koczera, the staff tech guy in the film department rigged up a way to use a Steenbeck to trigger Pro Tools playback. It wasn’t perfect sync, so it would drift if you played it long enough, but it was good enough to do the sound editing and then bounce a final mix to disk. I don’t even know where the optical sound track is for Camera Noise, but there’s nothing worth saving in a 16mm optical sound track.
After all the remastering was finished, I had to do the thing I dreaded most in the whole process: actually watch these very personal, very embarrassing movies. I managed to get through them, but I had to watch a few scenes through my fingers because it was so awkward. I can say with the benefit of 20 years of professional editing experience that they are way too long, but also there a few good jokes that are built on solid editing.
And here are the final products! Enjoy?
